
Step-by-step instructions for Kali Linux installation and setup. Mostly screenshot based, with explanations beneath each images and in between – where needed. If you wish to install Kali Linux as a virtual machine, take a look at the post explaining VirtualBox installation and setup. Before installation instructions, I will briefly explain what Kali Linux is.
1. What is Kali Linux?
Kali Linux is Debian based Linux distribution. Development of the distribution began in 2012, with the first version published in March 2013. Developers are Mati Aharoni and Devon Kearns from the company Offensive Security, with Raphaël Hertzog joining a bit later as a Debian expert. It differs from most other Linux distributions by the following characteristics:
Pre installed tools and applications
It comes with installed tools (applications) for security testing, for monitoring network traffic etc.
Closed ports and minimal packet sending
It comes with the motto “The quieter you become, the more you are able to hear”. That is: most “regular” operating systems (including most Linux distributions) have many regular network communication ports open – for application use. Also, both OS-s and applications often send some packets to the Internet, ranging from simple Windows time sync, to application and OS tracking cookies and data. With Kali Linux, everything that isn’t necessary for Internet connection is disabled/closed. I.e. it doesn’t send more data than is absolutely necessary for the tasks that are being done.
Default user mode as a root user
Most Linux distributions are used logged in as administrator, or user, with entering root password only when needed – to install programs etc. With Kali Linux, this “inconvenience” is skipped: you log in as a root from the very start (the only existing user after the installation is root). If one does not know exactly what they are doing, this can be dangerous – it is easy to mess things up. You won’t get any warnings, won’t be asked for password – all the commands will just be executed. Again, this is very practical if Kali is used for what it’s intended and if the user knows what they are doing.
What is not installed
Regular applications like Open Office, mail client etc, are not installed. In short: everything used by “normal” every day users are not installed with the Kali distribution. Yes, you can install them later on at any time, but everyday computer use is not what Kali Linux is intended for (see the previous paragraph).
2. Kali Linux installation
Insert bootable USB, CD, or start a bootable .iso from a virtual machine.

Picture 1
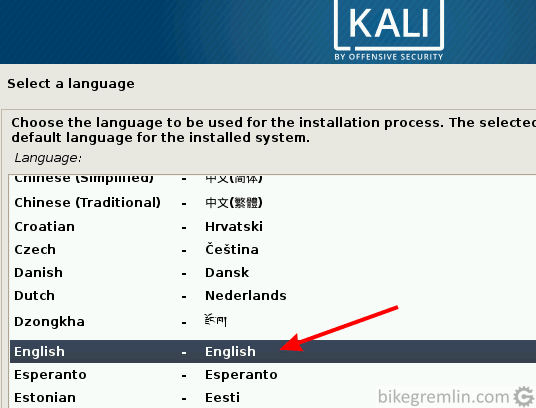
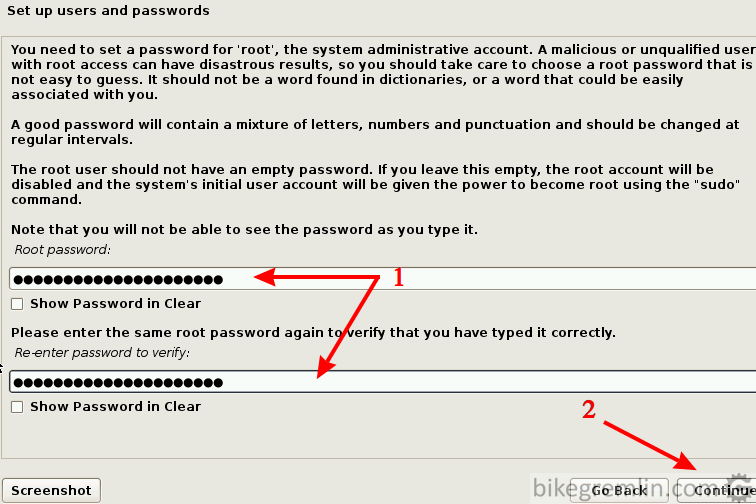
Then click on “Continue”
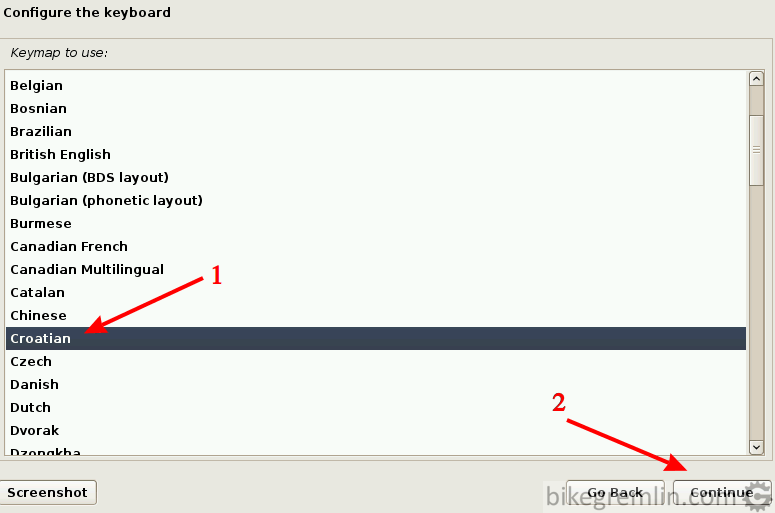
Picture 2

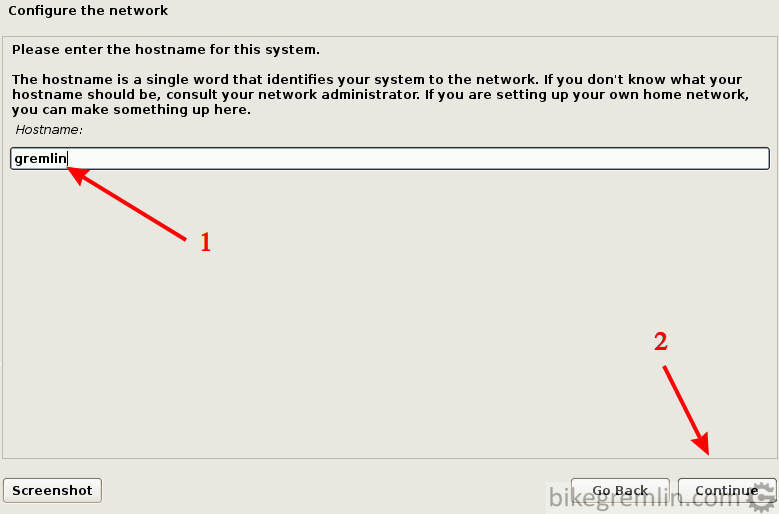
Picture 3
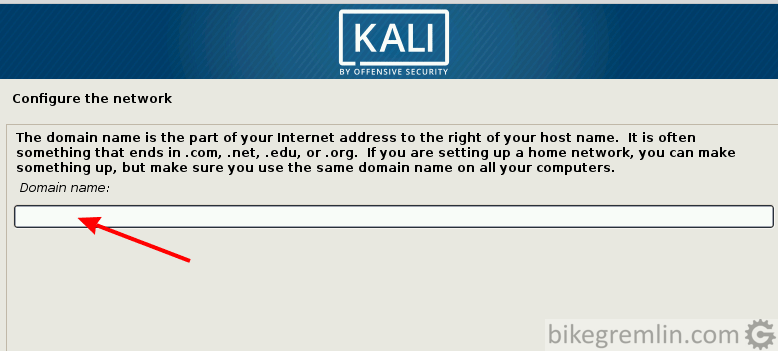
Picture 4
Now wait a bit while files are loaded from the “CD”.
Picture 5
In the remainder of this manual, in order to make it easier to read, I’ll cut out the part of the screenshot that shows the option to be clicked on at the end (like “(2)” in picture 5). I will only name it.
Picture 6
Picture 7
Picture 8
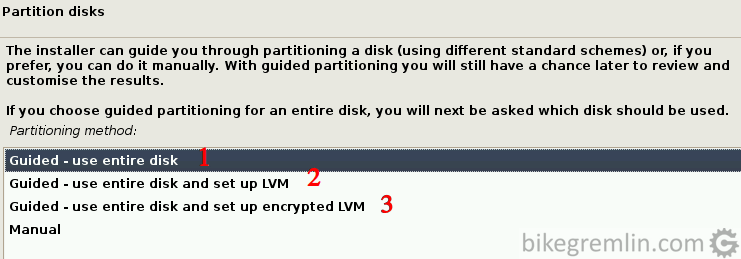
Set up LVM (2) enables you to change partition space later, while Encrypted LVM (3) encrypts all the stored data
Then click “Continue”
Picture 9
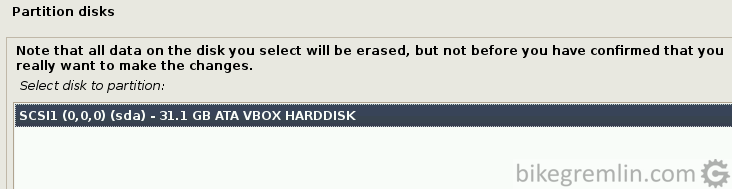
Then click “Continue”
Picture 10
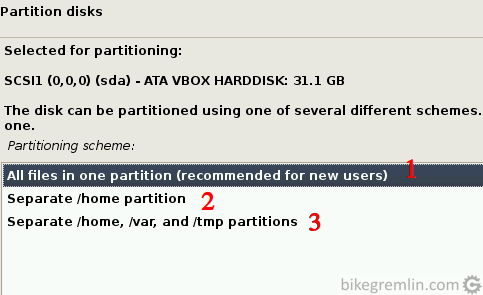
Option (2) is a “classic” Linux setup, but choosing the option (1) can make things simpler with Kali
Choose the desired option, then click “Continue”
This manual is based on choosing the option (1)
Picture 11
Picture 12
Picture 13
Now wait a bit until all is finished…
Picture 14
The following screen is for setting up HTTP proxy if that is used, for me this is left blank:
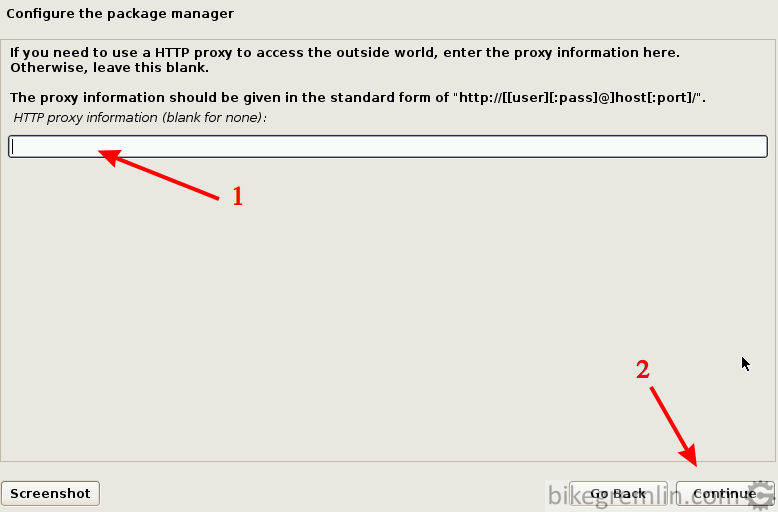
Picture 15

Picture 16
Picture 17
Picture 18
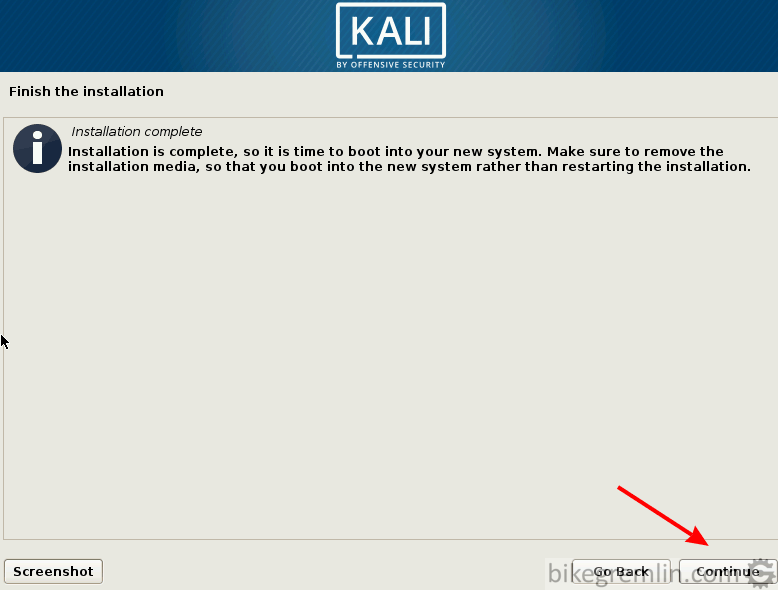
If the computer is set to boot from USB, or CD, remove the bootable installation medium (if Kali was installed from it) before clicking “Continue” – you can later change BIOS settings so that the first boot device is the disk where Kali Linux is installed.
Last updated:
Originally published: