
A friend asked me to help with their business website. I was happy to do it. I’ll use the project for a series of posts that explain the whole process of creating a new WordPress website – from start to finish. Every detail. This first post explains the first, most basic and yet crucial aspect: reliable email setup. In separate articles I’ve explained email DNS records and how to set the reliable SMTP email sending for WordPress.
- Making a WordPress site [01] Email
- Making a WordPress site [02] Domain registration and nameservers
- Making a WordPress site [03] Hosting
- Making a WordPress site [04] DNS
- Making a WordPress site [05] Hosting setup and SSL
- Making a WordPress site [06] Staging and development
- Making a WordPress site [07] Visual and functional design
1. The importance of having a reliable email
Email is usually the primary “tool” used for creating accounts and their authentication. Accounts with hosting providers, DNS services, domain registrars etc.
For example: in case you loose your password, or need to reset it for any other reason, the reset code/link is usually sent to the email you used for registering with the service. This is why email account needs to be reliable and well protected. For that reason I’m explaining something as “basic” as email account setup in this series on creating a website.
I personally use a rather reliable MXroute service for hosting my emails. This means that even in case my website hosting provider goes bust, I can still use the email perfectly fine. In case of any DNS problems (so that my domain emails can’t be routed), I can switch to another DNS service (using Cloudflare now). While in case of any problems with MXroute, I can switch to another email service provider (and migrate my backups).
Still, for beginners, I would recommend Gmail as an excellent email solution. I’ve been using it since the start of that service (when it was invite only) and have had zero problems with email storage and delivery.
2. Creating a Gmail account
Go to gmail.com and you’ll be given an option to create an account. If you already have one, skip to chapter 3. If not, you can create a new Gmail account in the following way:
You will need a mobile phone. Yours, preferably registered to you, so that even in case of loss, you can get a new SIM card with the same number.

Picture 1
Fill in the required fields in the next screen. If you have chosen an email address that is already taken, you’ll be notified and will have to come up with something that’s available. The check is done after clicking on “Next”. Definitely use a strong password that you don’t use on other websites/accounts.
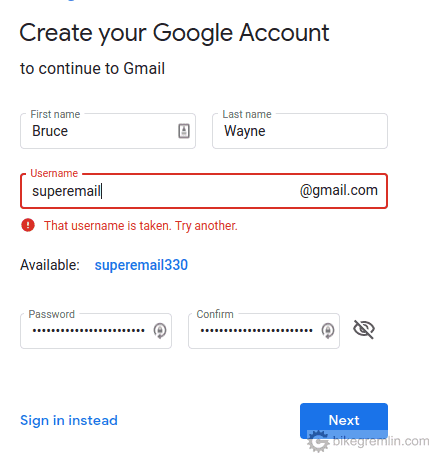
Picture 2
Next screens ask you to enter a mobile phone number and verify it:
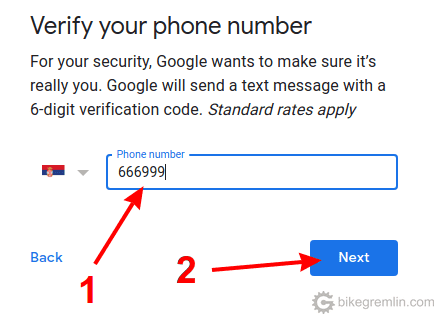
Picture 3
Now enter the code you got to your mobile phone SMS:
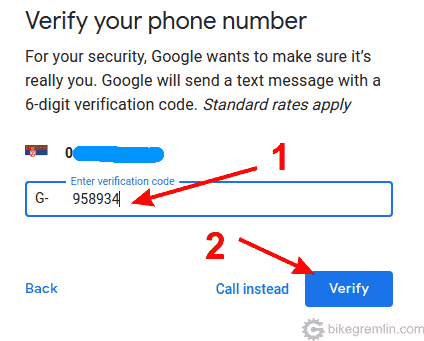
Picture 4
Important info on the next screen is the recovery email address. Here I chose my domain email, though you could also choose another Gmail account – just make sure that the recovery email is also well secured:
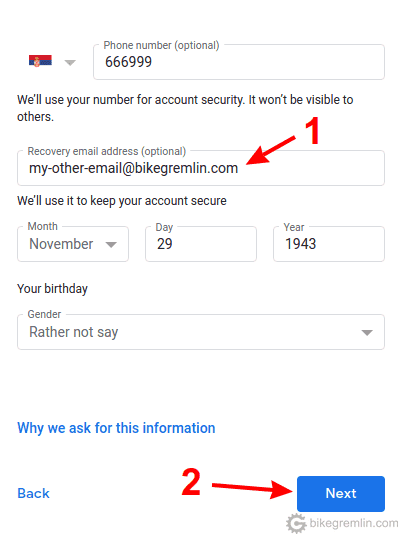
Google just loves the personal information.
Picture 5
After this you’ll be asked if you want to connect the phone to other Google services and to accept their terms and conditions. The latter one is obligatory if you wish to use Gmail.
3. Protection of the email account
After you’ve created a Gmail account (or have one from before), make sure to use a strong password that is not used with any other account.
Next thing to do is set up a multifactor authentication (2FA):
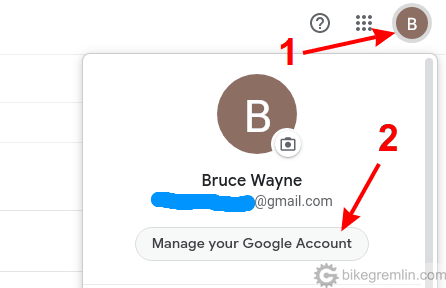
Picture 6
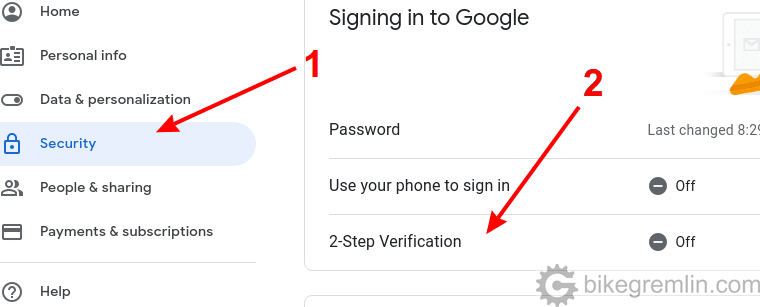
Picture 7
On the next screen, click on “Get started”. You will then be asked for your login password (again).
After that, you’ll be guided through a process similar to the registration one, sending you an SMS with verification code to your phone.
This way, in addition to a strong password, your email account is quite decently secured. It can be used for registration with other services and as a WordPress administrator account email.
For all the following steps in creating a WordPress website, the use of a safe, reliable email account is understood.
If you plan on getting into this, it’s worth taking a peak at the article explaining how much does running a WordPress site actually cost?
Thanks for the help, this seems like an honest resource. It’s hard to find those for website creation, too many people pushing their affiliate links. Glad you keep it real.
The primary use of this is for my own reminder/reference, and to help friends and people who ask for help – saves time when you can just post a link.
Try to keep it objective and correct – no point in lying to myself. 🙂
(Tried to reply but can’t see a button to do so)
For sure… thank you again 🙂